A Total Amateur's Guide to Photographing Iceland's Northern Lights
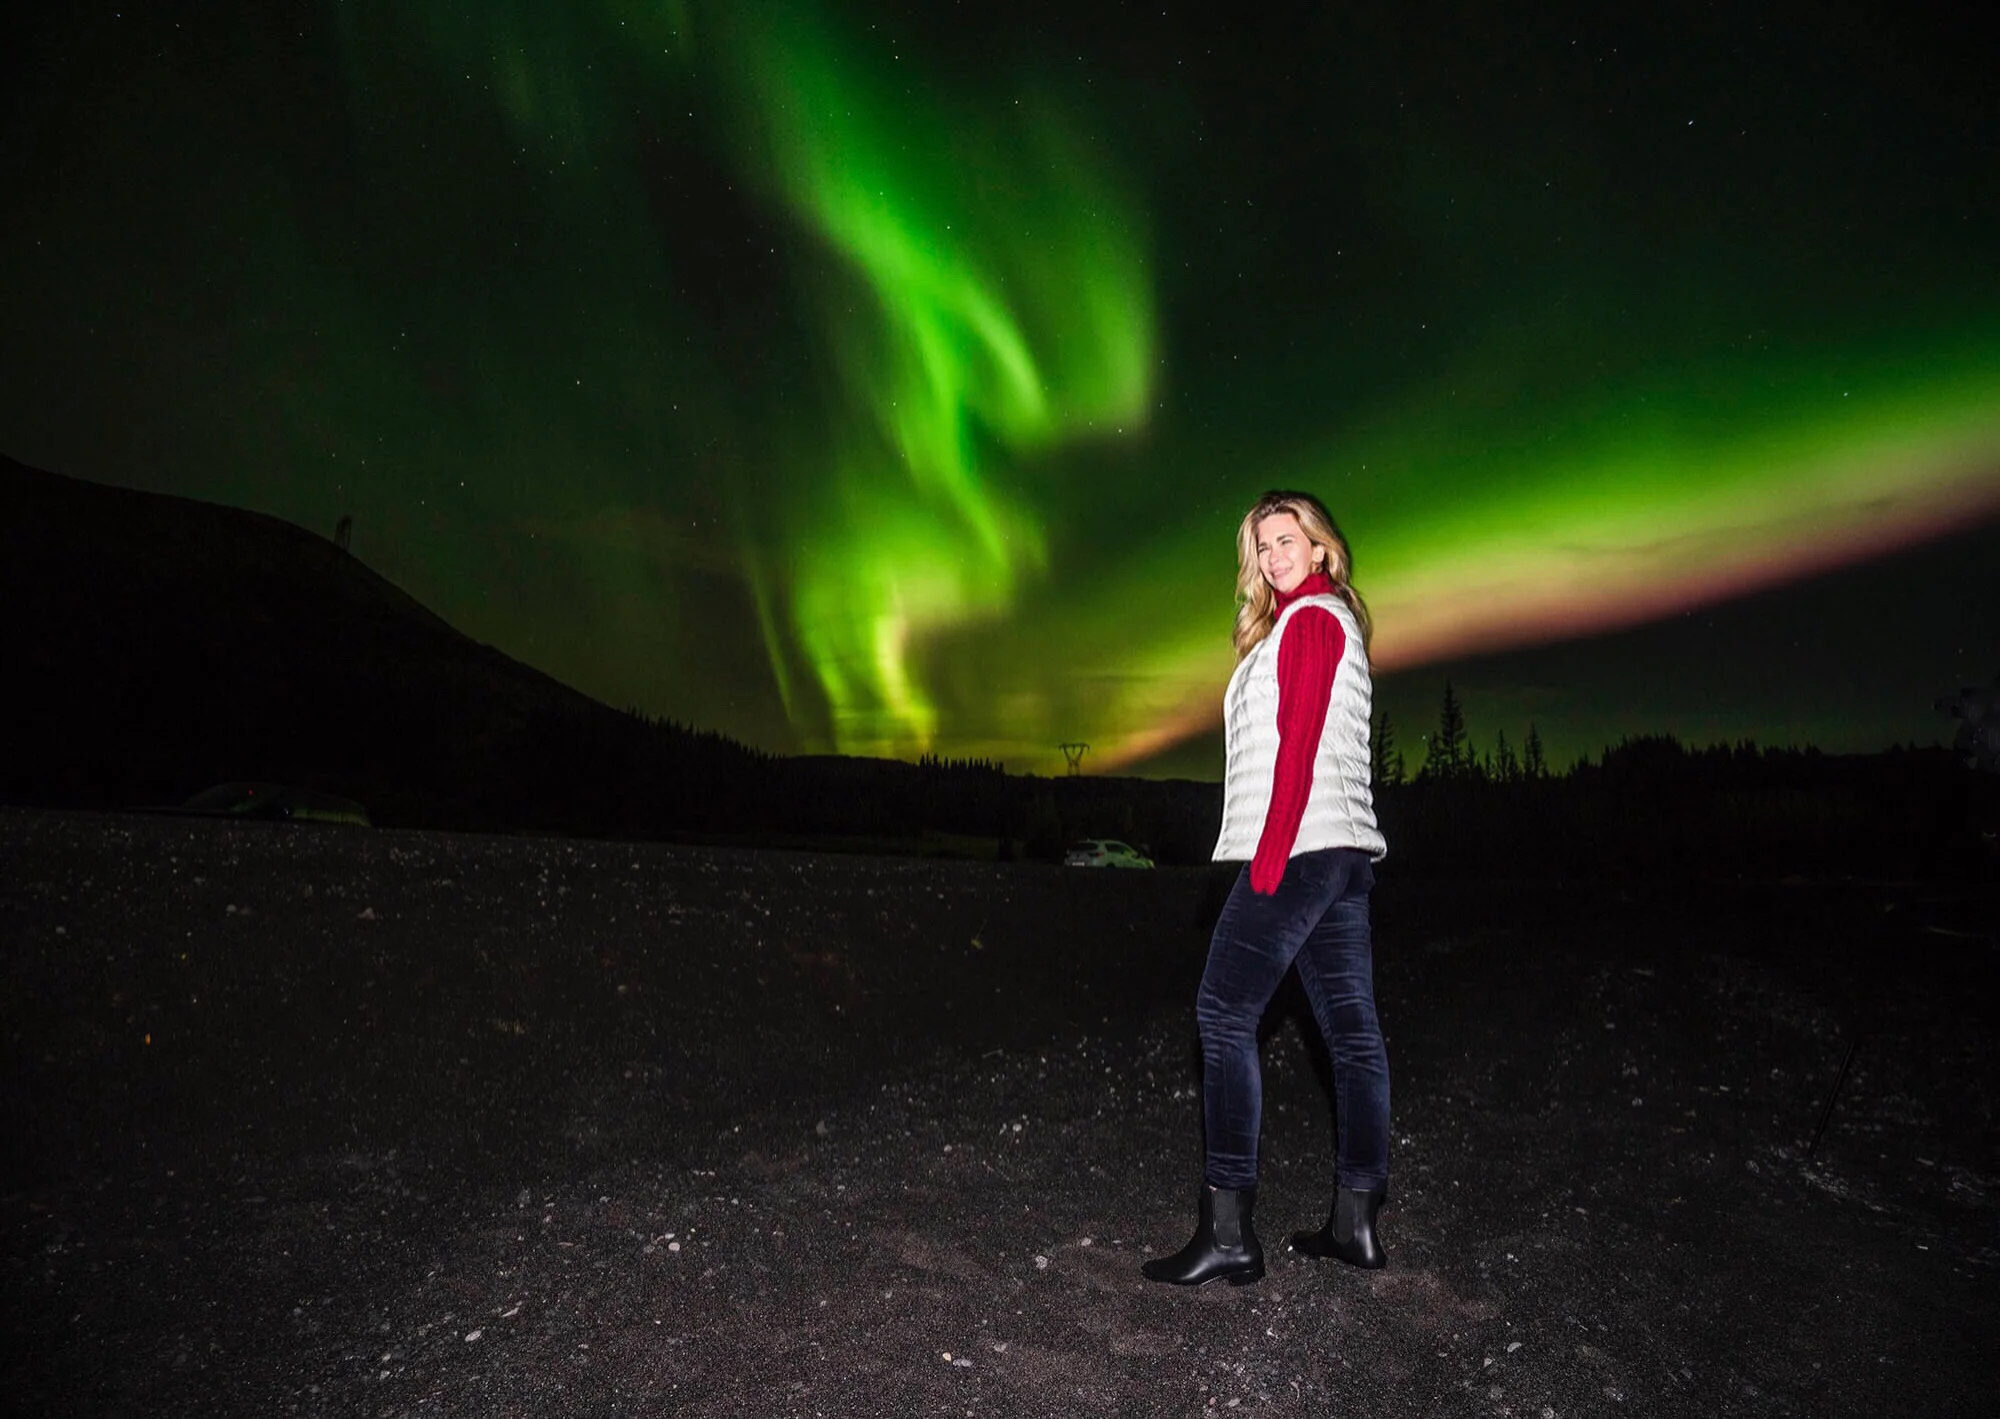
Forgive my weird face - I had to hold perfectly still for 20 very long seconds (just imagine it!) while we used a slow shutter speed to capture the moving lights!
The Northern Lights are easily one of the most elusive natural wonders of the world. So with the first stop on our mystery trip being Iceland, I sent a lil' prayer up to the Northern Lights gods for them to show us their pretty little faces. The first time I heard of the Aurora Borealis, I wondered if they really did even exist! And after my trip to Iceland, I can confirm that yes, without any doubt, they are real. And not just real - they flourish.
By some travel miracle, the stars aligned (is that a pun?) and we saw them our very first night in Iceland. Now, I am no Northern Lights expert, but I will tell you that there are a few things that are necessary for seeing these polar lights: one is a clear, cloud-free sky, and the other includes a tripod.
Yes, a tripod and a manual (DSLR) camera. You can certainly see a whisp of pastel color in the sky with the naked eye (and now I'm rhyming), but if you've been meaning to buy a real camera, this is your sign: buy it! Without getting all techie on you, a camera simply sees what the eye can't, and a slow shutter speed paired with a tripod will capture the Northern Lights in a way that the naked eye just cannot see. (And I know you're curious - my iPhone captured exactly zero of the lights during their brightest show, so please don't rely on your phone!).
Another thing that is verrry nice to have is a local tour guide/private driver. I know, I know. I'm getting all "extra" on you again, but hear me out: a driver can chase the lights with you. If you go on a group tour, you see them once and then you head home. And for some people, that's enough and that's ok! But if you have dreamed about the aurora borealis for a lifetime, to see them in different locations, different light conditions (over a lake reflection vs over the grasslands, they photograph SO differently) may be a life-changing experience for you. Our driver Alfred Moller took us to no fewer than 5 different location to capture them, and all the photos came out looking totally different. (see below for pics!)
Other needs:
- Warm clothes! Down-feather-type layers, wool socks, fleece leggings, gloves, and hand & feet warmers were a must for us in September. After the sun goes down the temp drops even more!
- A camera with manual settings like mine. Note: I used mine just as it came, basic with no fancy lenses or modifications.
- A knowledge on how to acquire a long-exposure (same as slow shutter) photo (note - JP teaches classes both in NYC and online. Highly recommended).
- A tripod that is eye-level (not a tabletop one).
Thankfully, our driver was also a professional photographer (my dream come true) AND my brother is a pro as well, so I was able to capture these images on my basic Canon with their help. I know a few of my photos are OOF (out of focus) but they're the NORTHERN LIGHTS! So I'm posting them for you anyways :)
Check out below some of the photos I took and the settings I used and how the lights look different with a 10, 20 and 30 second shutter speed.
10" F4.0 ISO1600
This one is quite out of focus (I was excited and forgot to focus the lens!) but you can still clearly see the most important subject here!
Note: Zero edits were added to any of these 4 photos! I didn't even level or crop them. These are straight out of my camera.
10" F4.5 ISO1600
This is the first photo of my favorite series from the evening. Keep scrolling, and you'll see how the sky and colors intensify as I use a longer shutter speed. Here is 10 seconds.
20" F4.5 ISO1600
With a 20 second shutter speed the colors grow and light up the sky like a mermaid!
30" F4.5 ISO1600
And, my favorite photo of the evening. A very slow 30 second shutter speed. Imagine holding your camera perfectly still for 30 seconds! Brought to you courtesy of a tripod :)
Thank you for reading! Again, I am not a photographer, these are just my experiences and what I learned. I hope they help you!
Lastly, this is what a professionally color edited photo of the Northern Lights looks like. Thanks Alli!


